Hello everyone! It's been a while and I've got quite a backlog of posts. Behind the scenes I've been taking quite a few photos, so without further adieu here are my photos from the tour of Hoover Dam (about a month ago). Check it out!

Talk about a "hairpin turn"! This road leads to the old highway overtop of the Hoover Dam.

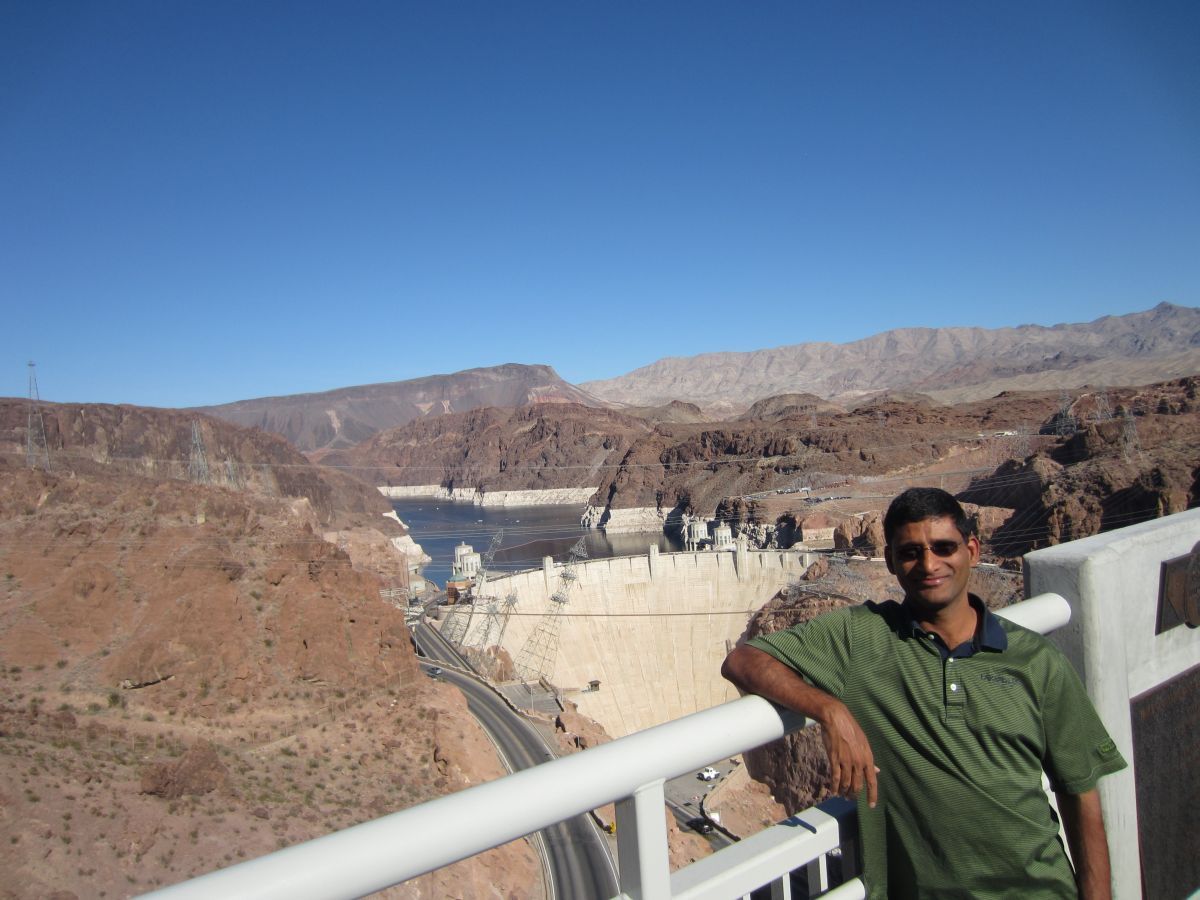
And here it is! One of the greatest Engineering marvels in the history of mankind. Very cool! The scale of the structure is impressive.

Yours truly! It was a very nice day, about 80 degrees.
This is my coworker and friend Sesh.

Another view of the dam. This time you can see more of the lower area, where water exits the dam structure. Also note the towers at the top, which are in fact the water intakes for the dam.

Another photo of me. Taken by Sesh.

My better side? You be the judge.

This is very cool... these are post tension cables and are used on the hillside to improve the structural integrity of the rock.

Old, meet New! This is the new bridge which bypasses the old highway overtop of the dam itself.

An interesting statue. This depicts one of the workers suspended in an old-school rope harness. This is how they worked on the rock face. Often they'd carry heavy tools such as jackhammers, pry bars etc.

There are a pair of these statues. I like this style!

This is the old visitor's center. The new tour is across the road, inside the dam itself.

Remember those water intake towers that I mentioned? Here I am, up close and personal with two of them.

This wrench weighs 105 lbs. Wow...

An old photo depicting workers using wrenches like the one above on the old GE hydro-electric turbines.

Here we are on the tour, several hundred feet underground in solid bedrock. This was very cool!
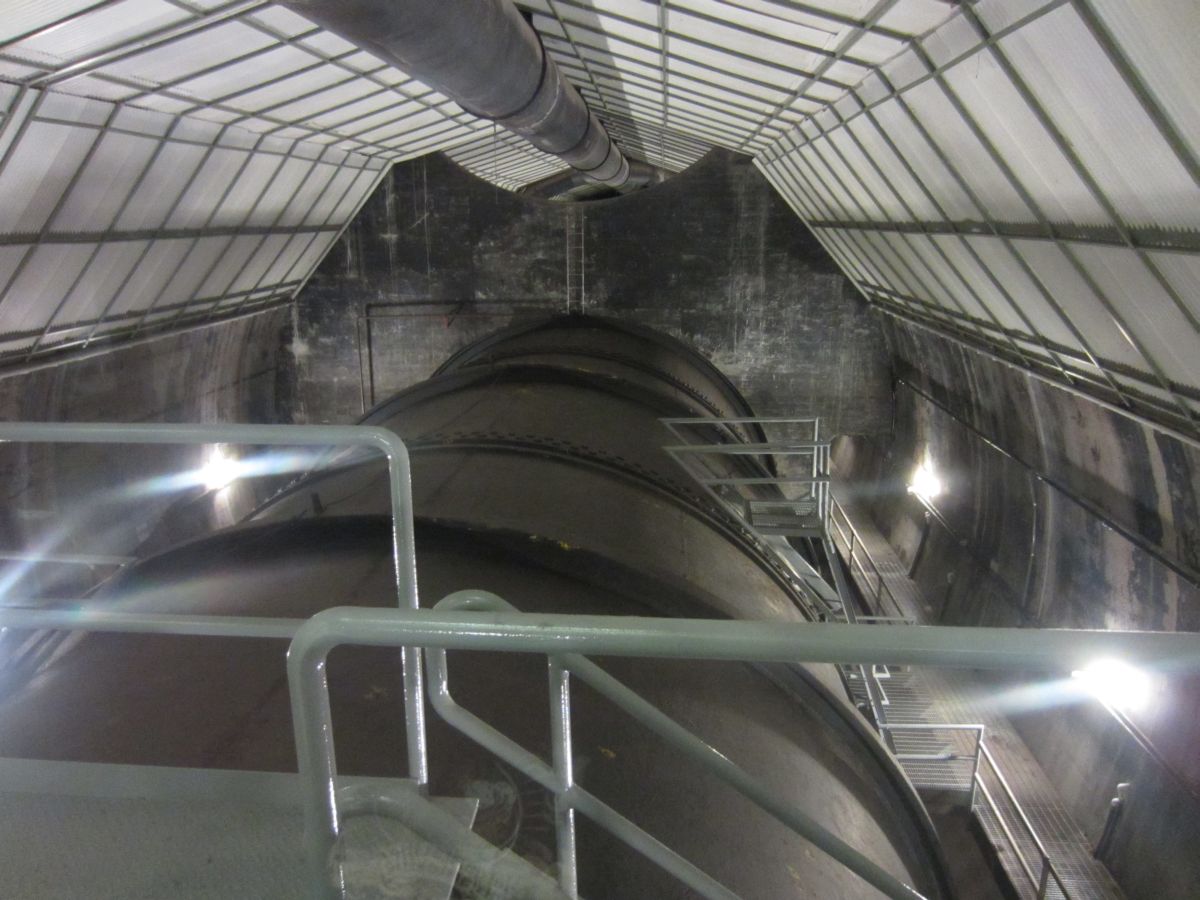
This pipe carries the water from to the dam's power generating turbines. You could drive two city buses side-by-side in it if one were so inclined.

The heart of the dam! These turbines generate an enormous amount of power. The one closest to us is currently not operational as it is undergoing maintenance.

This smaller turbine provides power for the dam itself.

That is a LOT of concrete. Can you believe that it only took two years to pour? These days the EPA study would take 10x that long itself.

The new bridge and gorge. Magnificent!

Outside the tour center. Lovely copper building.

A gorgeous parking garage. <--- Sure don't say that very often. This one however, blends nicely into the landscape.


